Wednesday 15 May 2013

Lesson 2: Making the most of your firesteel (man-made tinders)

welcome to lesson #2. I'm going to show you the easy way to use your firesteel using as little effort as possible. At this point I will be using man-made tinder (cotton wool) as it can be considerably easier to ignite, compared to natural tinders, when learning to use your firesteel.

Step 1: Fluff up your tinder
This refers to the first lesson, about applying fuel, ignition and oxygen. By fluffing up your tinder you are allowing the oxygen to move more freely and thus, making it easier to ignite.

Fluffy cotton wool!!!
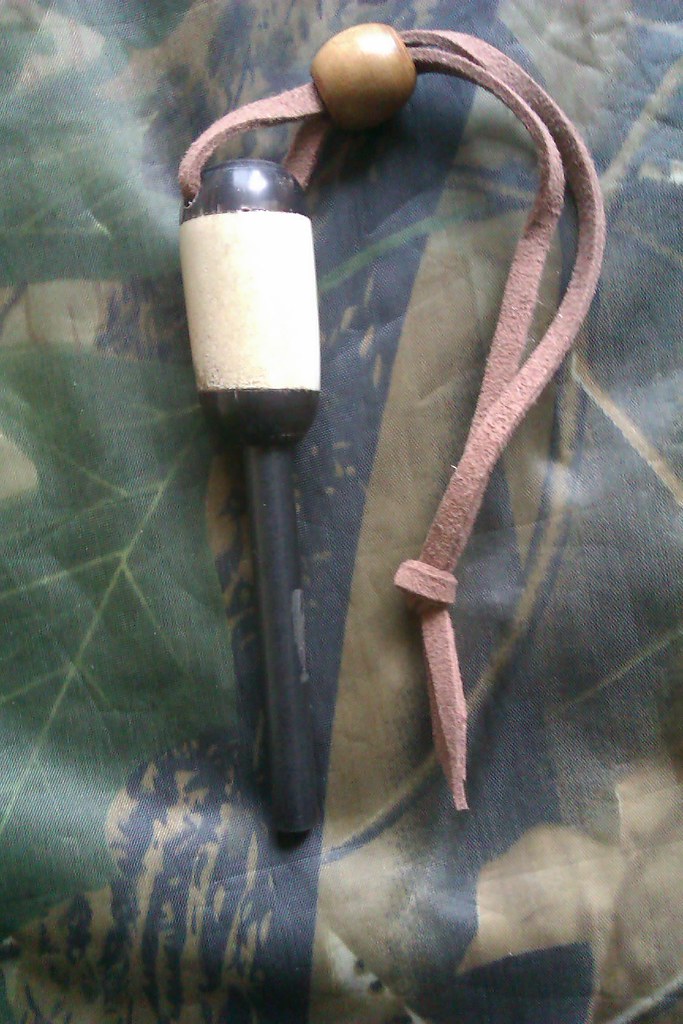
Step 2: Get a grip!
Holding your firesteel and striker correctly will make a world of difference. If you hold them too loosely you will not be able to get enough pressure to create a strong spark. Hold the striker in your dominant hand and the steel in the other. i.e if you are right handed, place the fire steel in your left hand and visa versa. If necessary, hold the steel as well as the handle to apply steady pressure

I'm right handed!

Step 3;: Pepper

This step is fairly simple. Just scrape some shavings off of your firesteel using the striker, making sure they land on your tinder. It will look like you have sprinkled shiny pepper all over it. Don't worry if you create a few sparks when you do this, with luck they'll land on the tinder and create a flame.

sprinkles!

Step 4: Strike

This final step is the one that counts. Place the striker over the tinder and lock your hand, arm and wrist to stop it from moving. Place the firesteel under the striker and point it towards the base of the tinder. Apply pressure and draw the firesteel towards you fairly quickly.
If you did this correctly, you should have burning piece of cotton wool and a grin from ear to ear.
If you don't, fear not go back a few steps and try again.


Using this technique and a little practice, you will become a master of the firesteel in no time at all.


To demonstrate the whole thing from start to finish, i've made a little video for you. Enjoy


Monday 13 May 2013

My latest creation

This is a Buffalo horn and Deer antler firesteel with an 8mm steel and suede lanyard. 
Custom made for Resnikov of the BCUK forum. Check out my second post to find out how to get your own custom made firesteel.

Friday 10 May 2013

Custom hand-made Firesteels

Custom Hand-made Firesteels

Are you fed up of generic, mass produced firesteels? Have you ever wondered if you could have a Fire-steel made to your specific style and shape? Now you can and its really easy;
Simply create a design using the choice of materials below, email your design to me at bushcraftmunki@gmail.com, i'll review and price your design before contacting you with final prices (including postage cost). If you're happy with the price, i'll make the piece then send you a photo of the finished product. once you are completely satisfied with your design I will ship it to you as soon as possible


Mahogany + cedar , oak - 8mm steels

Material choices

white oak
mahogany 
black buffalo horn
bleached white buffalo horn
deer antler sections
deer antler tines
copper plate 1-2mm
copper sleeve 9mm or 18mm
leather spacers (various colours)

Steel diameter (standard sizes)

6.5mm 
8.0mm
(other sizes can be ordered on request)

Extras

round leather lanyard (short) - +50p
round leather lanyard (long) - +75p
paracord lanyard (any colour) +50p
cotton neck pouch (custom made to fit your steel) +£1.50

Finish

Matt (no treatment, fine sanding)
oiled (light shine)
waxed (mild shine)
high polish (high shine)

If you would like to incorporate any other material, size of steel or shape....just ask, I will be more than happy to oblige.

Next blog.  Getting the most out of your firesteel


Wednesday 8 May 2013

Lesson 1: basic fire lighting

LESSON 1: BASIC FIRE LIGHTING

Fire lighting in Bushcraft comes in many forms, from ancient methods such as the Bow Drill and Fire Plough to the modern techniques like fire-steels and lighters. To be able to successfully light a fire you first need to be able to understand how a fire works. The simplest way to explain how a fire works is by using the fire triangle. The fire triangle demonstrates the 3 core needs of a fire.Take one away and you will not be able to create fire.

Without fuel there will be nothing for the ignition source to light, without ignition there will be nothing to light the fuel and without oxygen the ignition will be smothered and extinguish. If greater quantities of either oxygen or fuel are added after the fire is lit, then the greater the fire will become, although too much fuel can smother a fire by taking away the oxygen and too much oxygen can blow out a flame so care is needed. 

The best way to use the fire triangle to your advantage by structuring your fire correctly. There are a variety of structures you can use but the simplest, in my own opinion, is the platform fire.
The platform fire is designed to raise the fire off the ground away from any moisture and allow a lit tinder to be passed underneath to ease ignition.


First of all you need to gather all your fire lighting materials and fuel for once it's lit. I will usually gather enough to fill a shoebox of each size. Starting with tiny pieces like pine needles and dried weeds and working  up to logs of about 3 to four inch in diameter. 
Start by placing two logs about 2 to 3 inches apart with an open end facing the wind. Next take sticks and twigs, about 6 inches long and similar thickness to a matchstick and lay them across the two logs with a spacing of about a 1/2 inch. Now turn the twigs parallel to the logs and lay down another layer again, spaced about a 1/2 inch apart. Repeat this a couple of times, increasing the thickness of your twigs each layer until they are about A 1/2 inch thick. The best material I have found for this is dead nettles and brackens. Provided you have plenty of fuel to hand, you are now ready to light your tinder. Once the tinder is lit, slide it under the platform and allow it to light. once a suitable flame is established, add more of the larger fuel. Do not add the largest pieces or you will make the platform collapse. Start small and build your way up once each new size has lit. 

Using this technique you should need no more than 1 match or 1 successful spark to light your fire